4 steps to visualise your dream home
Creating a clear picture of the home you want is the crucial first step in achieving the renovation or new build you’ve always dreamed of. Distilling half-formed thoughts and snippets of inspiration into a cohesive look keeps you focused and gives you a clear reference point to share with your future team, including tradespeople, builders and interior designers. It’s also a chance to flex those creative muscles!
A simple four-step process followed by those in the know looks like this:
Build a mood board
Order samples
Finesse your flatlay
Create a 3D render
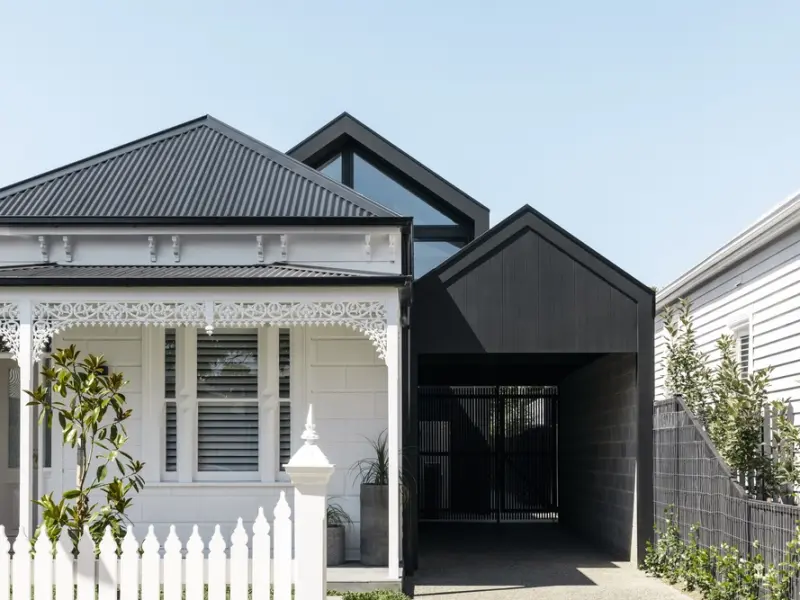
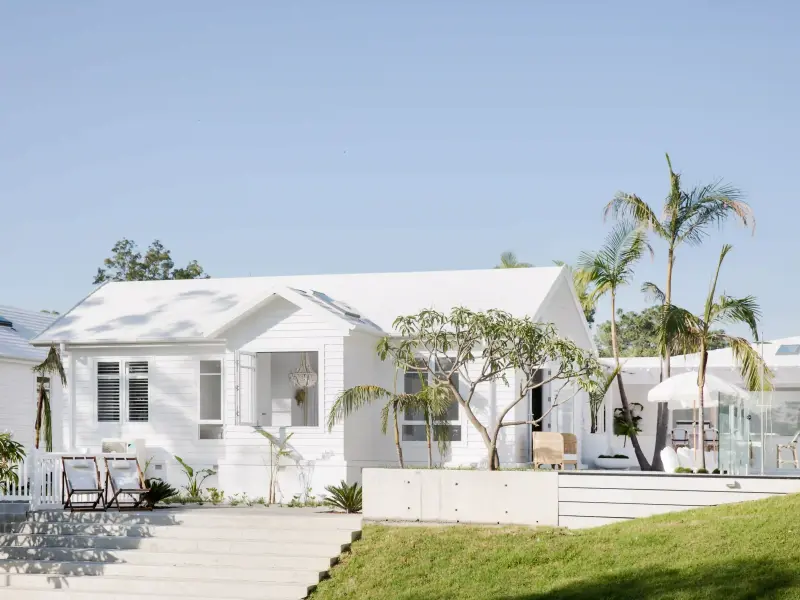
Here, we guide you through each step with the help of some of Australia’s favourite design influencers. Eve Gunson of Dot + Pop, interior designer Kate Lawrence, landscape designer Adam Robinson, Norsu Home founder Nat Wheeler and design duo Oak & Orange all contributed to our Hardie™ Fine Texture Cladding Look Book. Demonstrating the value of this foolproof process, they produced inspiring home designs featuring the smooth, natural sand texture of Hardie™ Fine Texture Cladding. So, how did they go about it?
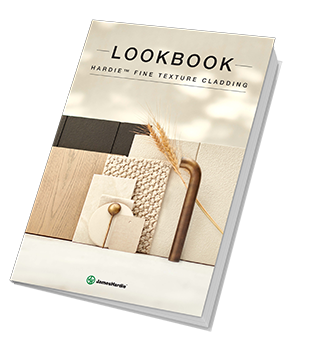
Hardie™ Fine Texture Cladding Look Book
Download your go-to-guide to help you navigate the design process and select the perfect exterior materials to suit your dream home vision. See how 5 fabulous designers have applied our 4-step Mood Board to Render process to bring a variety of projects to life using the innovative and versatile Good Design Awards-winning product, Hardie™ Fine Texture Cladding.
Step 1: Create a mood board
“The mood board is the most important step in any design,” says interior designer Kate Lawrence, whose stunning home concept was featured in the Hardie™ Fine Texture Cladding Look Book.
“Collect inspiration to narrow down the look and style of your home, incorporating colours, materials and features to make it one of a kind. I incorporate inspiration images and materials to represent the mood and palette of the project.”

Your mood board can be physical or virtual and there are plenty of tools out there to make creating one fun and easy. “An online tool like Style Sourcebook is easy to use – simply drag and drop images of your favourite finishes and materials. It’s a wonderful repository of trending interior products,” advises Nat Wheeler of Norsu Home. “And it’s a valuable resource to hand over to your architect or interior designer.”
Create a Mood Board
A mood board can help clarify and communicate your vision, let us help you put your inspiration in one place. Start creating your dream façade today.

Style Sourcebook uses products from a huge range of retailers, including James Hardie. Try it out.
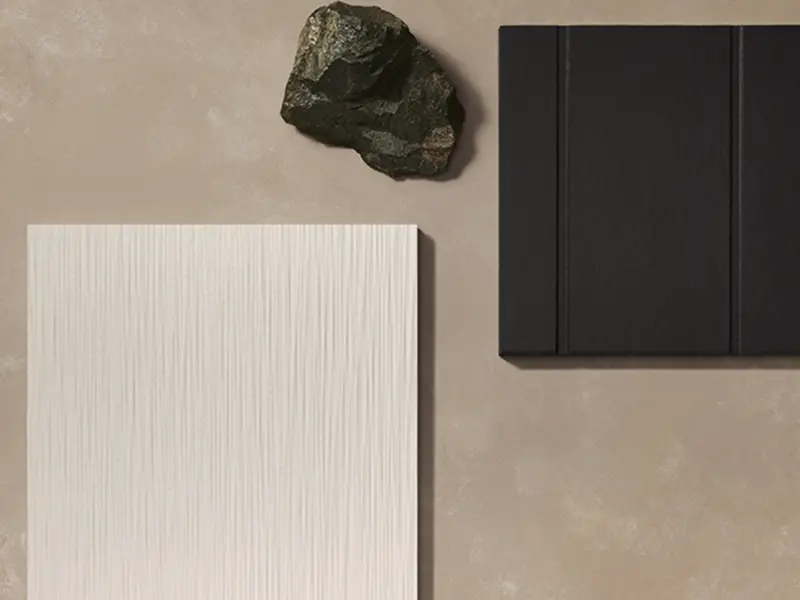
Step 2: Order your samples
With your mood board complete, it’s time to call in the samples you’ll need to create your flatlay (see Step 3, below). Considering the various materials in natural light and being able to touch and feel them will help you narrow down the options.
Order your James Hardie cladding samples along with other materials like flooring, tiles, benchtops, hardware and tapware, as well as softer samples including linens for curtains or blinds, carpet and even upholstery.
Don’t forget to paint your cladding samples in your chosen colour – we recommend using low-sheen exterior paint and having a few colour options to play with.
Order a Sample
Ready to specify Hardie™ fibre cement products in your next project? Order a sample to help visualise your design decision. Paint samples in any colour to suit the vision you have for your dream home.

Step 3: Finesse your flatlay
Your flatlay is a tangible visual expression of all chosen colours, materials and textures. It allows you to review the tonality of your materials and textures, ensuring they marry to your vision in different light conditions throughout the day.
“You need to find a balance, choosing just two or three complementary colours and textures for visual interest,” says landscape designer Adam Robinson. For example, on Adam’s flatlay, you can see Axon™ Cladding, a vertical shiplap cladding, alongside Hardie™ Fine Texture Cladding and other hard surfaces.

Top tips for fantastic flatlays
Consider your concept: Are you going for a fresh, coastal feel or a modern Scandi Barn style?
Start with large items: Flooring and external materials lay the foundation of the home and play such a huge part in the overall feel of a flatlay.
Paint and finishing touches: Try a couple of paint swatches to indicate a variance through the interior and exterior. Add in other elements such as basin finish samples, hardware and tapware.
Add greenery: Some plant life ensures the flatlay feels balanced.
Refine the flatlay: Take a step back and look at the overall composition and tone. Remove any finishes that look too cluttered and make sure the effect is balanced and cohesive.
Photograph your flatlay: Look for natural light without shadows and capture a shot of the image from above, keeping edges straight for a balanced look.
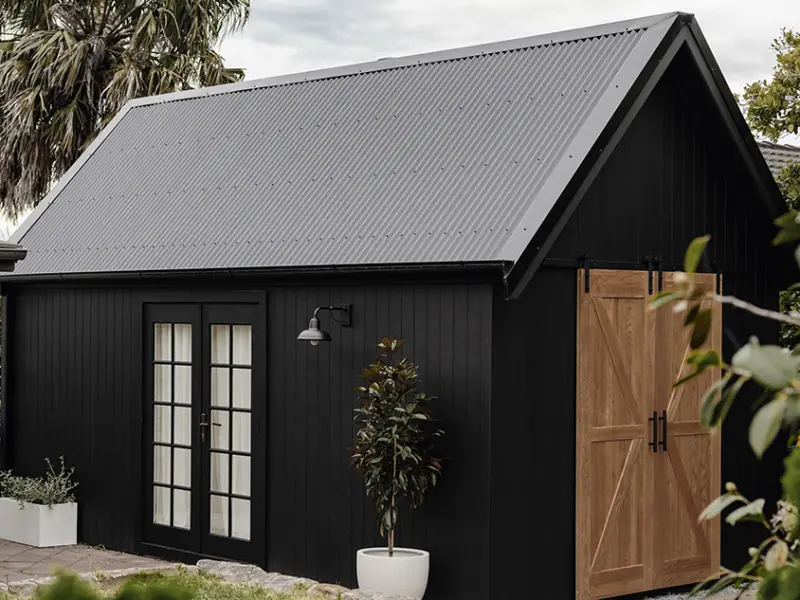
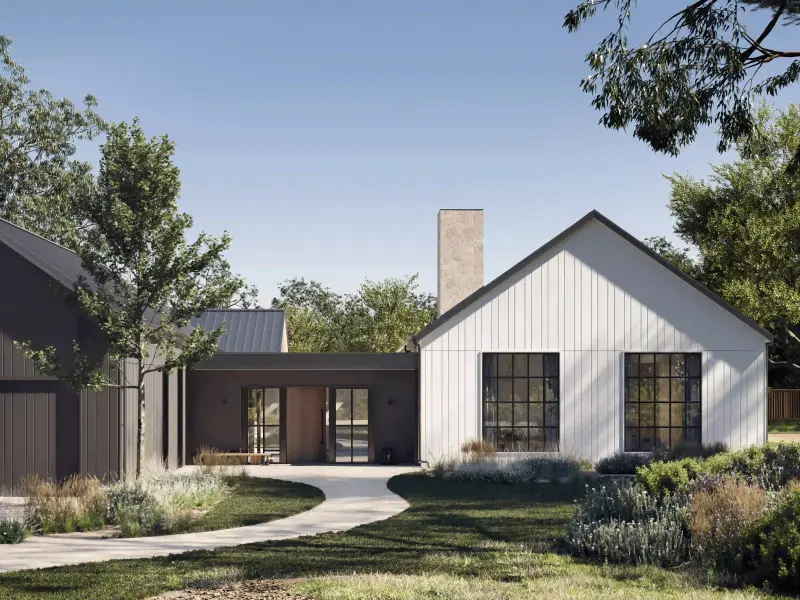
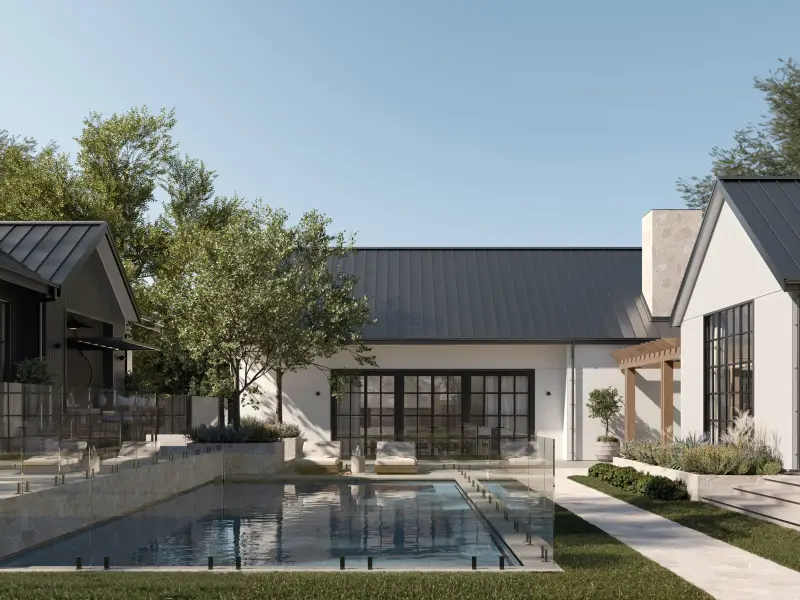
Create a 3D render
Bringing it all together, the flat 2D building plans and elevations can be converted into a 3D digital prototype that beautifully illustrates your home concept. Presenting as a photo-realistic image, the renders incorporate your selected finishes, colours and materials, and can be updated as you go.
“A good rule of thumb for your 3D render is to create your facade with no more than three colours and work these colours into all aspects of your design,” says Eve Gunson of Dot + Pop, whose render for the Hardie™ Fine Texture Cladding Look Book is shown below.

Rendering services are available online, just search “architectural 3D rendering service” in your area and always read reviews before engaging anyone online or overseas. You could also ask other renovators for recommendations – try Facebook groups such as Mums Who Build, Renovate & Decorate and The Reno Club.
Costs for exterior 3D renders can range from around $300 to up to $1,500, depending upon the complexity and area covered in the brief and the service provider. If you’re working with an architect, 3D rendering may be included in their fee.
Why should I invest in 3D rendering?
Renders give you a clear visual of how your ideas will look in real life, highlighting what works and what doesn’t.
Your 3D render can be constantly updated, from concept through to final drawings.
Renders allow you to experiment with different ideas, materials and colour combinations to see how they work together.
It’s a fantastic resource to help you communicate your vision to a builder, or anyone working on your home, as well as family and friends.
This four-step process is the tool you need to capture and finesse your design vision – why not make a start today?
Download the Hardie™ Fine Texture Cladding Look Book for examples of the four-step process in action and don’t forget to order your exterior cladding samples here.